Not finding what you're looking for?
Contact UsSetting Up Notifications
TutorialNotifications are how Messijo tells you about mentions without you having to check the dashboard. Instead of polling, Messijo pushes alerts to the channels you already use: email, Slack, Discord, and webhooks. Let’s connect your first channel.
Step 1: Open the Notifications page
Log in and click Notifications in the header navigation. You’ll see a list of your notification channels (empty if this is your first one).

Step 2: Add a channel
Click the add action on the Notifications page. You’ll see the supported notification types:
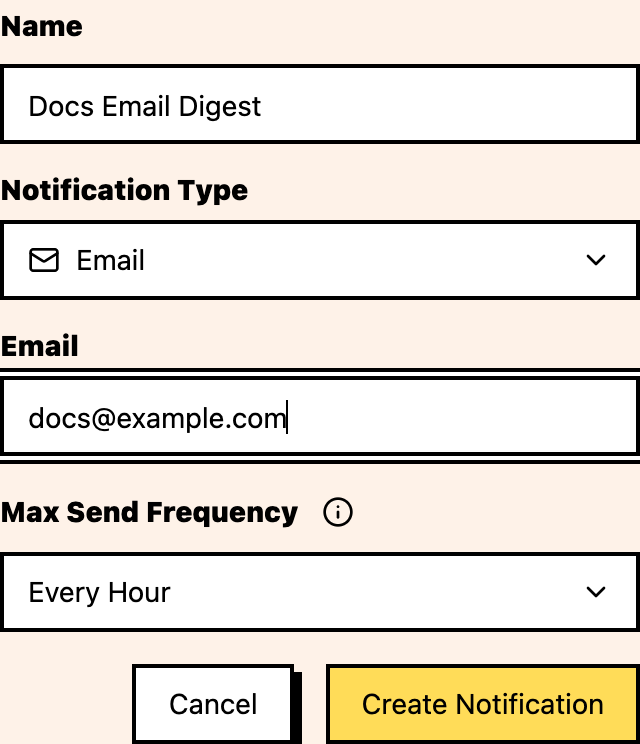
- Email: alerts at your email address
- Slack: alerts in a Slack channel via OAuth
- Discord: alerts in a Discord channel via OAuth
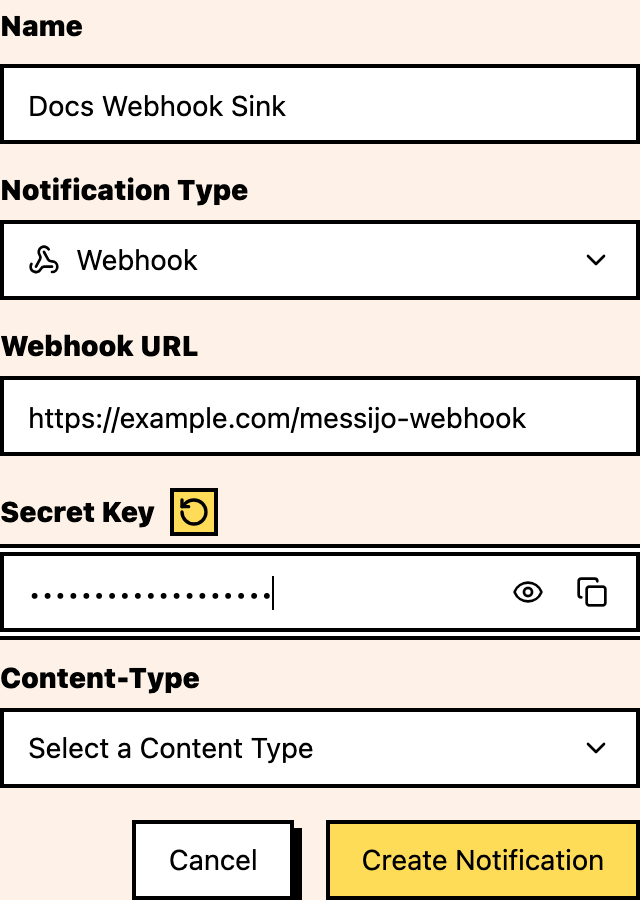
- Webhook: HTTP POST requests to any URL
Step 3: Connect your channel
For your first channel, Email is the easiest: enter your email address and click save.
If you prefer Slack or Discord, create the notification and then connect it through the OAuth flow from its notification card. You’ll be redirected to Slack or Discord, asked to pick a workspace or server, and then choose which channel to post alerts to.
For a Webhook, enter your webhook URL, content type, and an optional secret for validation.
Step 4: Verify it works
After creating a channel, follow the verification, connection, or validation prompt shown for that notification type.
- Email: check your spam folder
- Slack: make sure the Messijo app was invited to the channel
- Discord: verify the webhook has permission to post in the selected channel
- Webhook: use the Validate Webhook action and check your endpoint logs for the validation requests
Step 5: Assign keywords to the channel
Notifications are triggered by keywords. To receive alerts for a specific keyword, go to Keywords, open the keyword card settings, choose Notifications, select your new channel in the dialog, and save.
Now whenever that keyword matches a post, Messijo sends a notification to your chosen channel.
Step 6: (Optional) Set up routing
As you add more keywords and channels, you can set up routing rules:
- Per-keyword routing: each keyword sends to a specific channel
- Per-Lens routing: only events that match a Lens go to a specific channel
For now, a single channel for all keywords is fine. You can refine routing as your setup grows.
Where to go next
- Connect Slack for real-time team alerts
- Understand notification routing for advanced setups
- Learn about Lenses to filter out noise before notifications