Not finding what you're looking for?
Contact UsConnecting Slack
How ToSlack is one of the most popular notification channels in Messijo. When connected, Messijo posts alerts directly to a Slack channel of your choice, so your whole team can see and respond to mentions in real time.
Prerequisites
- A Slack workspace where you have admin or app installation permissions
- A Messijo account with at least one keyword configured
Step 1: Open the Notifications page
Go to your dashboard and click Notifications in the header navigation.

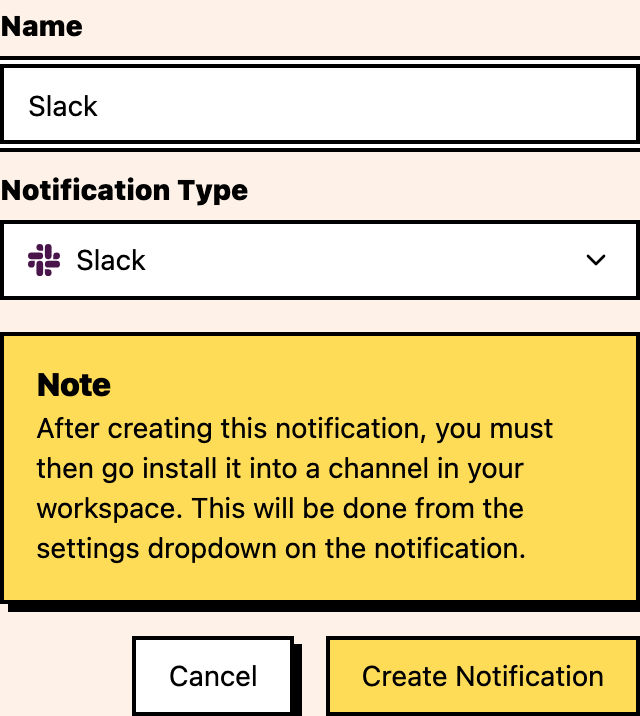
Step 2: Add Slack
Click the add action and select Slack.
Step 3: OAuth authorization
You’ll be redirected to Slack’s authorization page:
- Select your workspace: choose the Slack workspace where you want alerts posted
- Review permissions: Messijo requests these scopes:
chat:write: post messages to channelsincoming-webhook: send messages via webhookchannels:read: list available channels (for channel selection)
- Click Allow: authorize Messijo to access your workspace
Step 4: Select a channel
After authorization, you’ll see a list of channels in your workspace:
- Choose a channel: pick where alerts should be posted. I’d recommend a dedicated channel like
#messijo-alertsor#brand-mentionsso alerts don’t get lost in general discussion. - Create a new channel (optional): if you don’t have a suitable channel, create one in Slack first, then refresh the channel list in Messijo.
A few channel selection tips:
- Use a dedicated channel for alerts so they’re easy to find
- Consider separate channels for different teams (e.g.,
#support-alertsfor complaints,#sales-alertsfor competitor mentions) - Make sure the people who need to see alerts are invited to the channel
Step 5: Confirm the connection
After OAuth completes, return to Notifications and check the Slack notification card:

- The card should show Connected
- The workspace and channel should match the destination you selected
- If it is still marked Not Connected, open the card settings and use Connect Slack again
Step 6: Assign keywords
Now that Slack is connected, assign it to your keywords:
- Go to Keywords
- Open the keyword card settings and choose Notifications
- Select your Slack channel in the dialog
- Save
Future matches for this keyword will post to your Slack channel.
What the notification looks like
Slack notifications from Messijo include:
- Keyword that matched
- Platform where the mention was found
- Author username
- Content snippet of the post
- Link to the original post
- Lens details (if Lenses are configured)
- Timestamp of the original post
Managing your Slack connection
- Change channel: go to Notifications, edit the Slack channel, and select a different one
- Disconnect: go to Notifications, click remove on the Slack channel. You’ll need to re-authorize if you want to reconnect.
- Revoke access: go to Slack’s app management page (slack.com/apps/manage) to revoke Messijo’s access entirely
Troubleshooting
Messages not appearing in Slack
- Verify the Messijo app is in the channel (especially for private channels)
- Check that the channel name hasn’t changed
- Confirm the keyword is assigned to the Slack notification channel
Messages appearing in the wrong channel
- Check which channel is selected on the Slack notification card
- If you have multiple Slack channels configured, verify the keyword is assigned to the correct one
Where to go next
- Connecting Discord: set up Discord notifications
- Notification routing: route different keywords to different channels
- Webhook setup: send alerts to any HTTP endpoint