Not finding what you're looking for?
Contact UsManaging Lenses
How ToLenses need management. Not a lot, but enough that it’s worth understanding the lifecycle: when to start, when to stop, how to route notifications per Lens, and when to clean up Lenses you don’t need anymore.
Prerequisites
You need at least one keyword configured and a basic understanding of what Lenses do (see Creating Your First Lens).
Starting and stopping Lenses
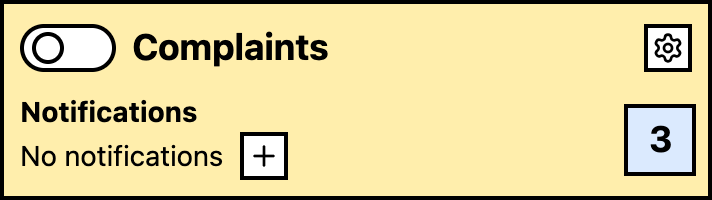
Each Lens is either running or stopped:
- Running: the Lens actively classifies every new event that matches its associated keywords
- Stopped: the Lens is paused; new events are not classified
Starting a Lens
- Go to Keywords and open the keyword the Lens belongs to
- On the keyword’s Events page, find the Lens in the Lenses card
- Select the Lens
- Use the Lens status controls to run it
Stopping a Lens
- Go to Keywords and open the keyword the Lens belongs to
- On the keyword’s Events page, select the Lens in the Lenses card
- Use the Lens status controls to stop it
- The Lens stops processing new events
Existing classified events stay in your dashboard regardless of the Lens’s current state.
When to stop a Lens
- Iterating on the prompt: stop the Lens while you refine the prompt so it doesn’t classify events with the old version mid-stream
- Reducing cost: if a Lens isn’t providing value, stop it to reduce lens result processing
- Temporary campaigns: stop campaign-specific Lenses when the campaign ends
- High false-positive rate: stop and adjust before it floods your notifications
Per-Lens notification routing
You can route notifications differently per Lens. This lets you send events that match a high-priority Lens to a dedicated Slack channel while sending general keyword matches to email only.
Setting up per-Lens routing
- Go to Keywords and open the keyword the Lens belongs to
- On the keyword’s Events page, find the Lens in the Lenses card
- Open the Lens card settings and choose Notifications
- Select the notification channel or channels for that Lens
- Save
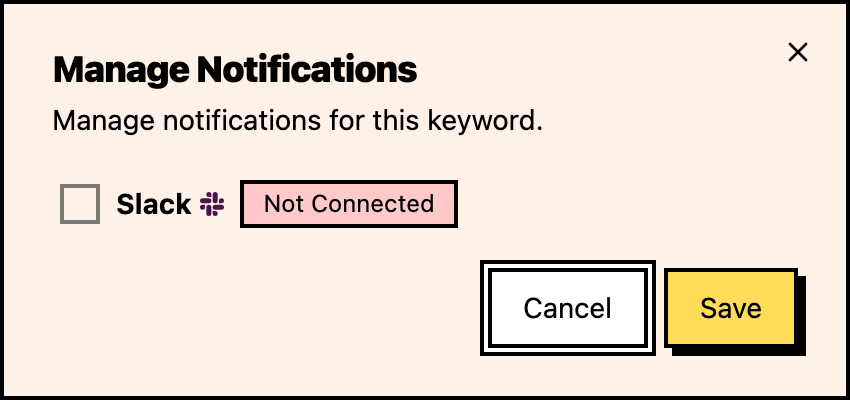
Now only events that match this Lens trigger notifications to the selected channel. Events outside the Lens result list don’t trigger notifications through this route.
Routing strategies
Strategy 1: Lens-specific channel Send all events that match a specific Lens to a dedicated channel:
- Competitor comparison Lens →
#competitor-alertsSlack channel - Customer complaint Lens →
#support-escalationSlack channel - Feature request Lens →
#product-feedbackSlack channel
Strategy 2: Lens + keyword routing Combine keyword-level routing with Lens routing:
- Keyword “acme” routes to email by default
- Events matching “acme” that also match the “competitor comparison” Lens route to Slack
- This creates a two-tier notification system
Strategy 3: Lens-only notifications Set a keyword’s default notification to none, then use Lenses as the only notification trigger:
- All “acme” matches are collected but don’t trigger notifications
- Only matches in the “high-priority” Lens trigger a Slack alert
- This dramatically reduces notification volume while ensuring you don’t miss important mentions
Running multiple Lenses
You can have multiple Lenses running at the same time. Each event can be classified by multiple Lenses:
- Independent classification: each Lens classifies independently. An event can match one Lens and not another.
- No conflicts: Lenses don’t interfere with each other. Each one has its own filtered result list.
- Notification aggregation: if an event matches two Lenses with different notification channels, notifications go to both channels.
Lens lifecycle
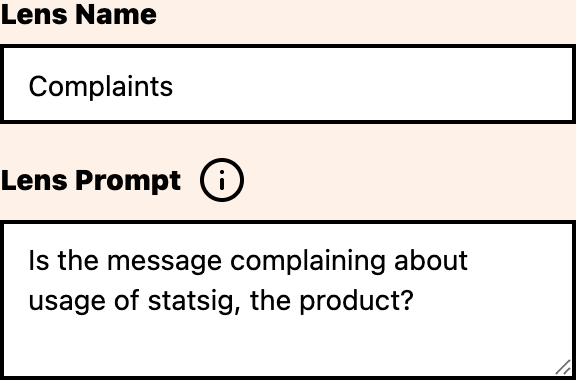
Creating
Start with one Lens. Write the prompt, run it, and review the results before adding more.
Monitoring
Check Lens performance weekly. Review the Lens-filtered results, compare them with the broader keyword event list, and watch for systematic false positives or missed matches. Adjust prompts based on what you see, not what you assume.

Iterating
Stop a Lens before editing its prompt. Make one change at a time so you know what caused the improvement. Keep a note of what changed and the results.
Cleaning up
Delete Lenses you no longer need (after confirming you don’t need their historical classification data). Stop Lenses associated with paused or deleted keywords.
Where to go next
- Writing effective prompts: improve your Lens accuracy
- Reviewing Lens results: inspect Lens-filtered events
- Notification routing: learn about all routing options